Is the answer because they’re awesome?
After thinking of many reasons why female bikers are an excellent choice for dating, we have come to the following very definite conclusions… read carefully.
1. They Travel Light
_______________________________________
It is a scientific fact that all a girl really needs for any given vacation fits easily into a tank-bag: toothbrush, bikini, a little black dress, heels, sunscreen, lip-gloss, mascara, and a tire pressure gauge. Girls who ride motorcycles know this. No bulky bags crammed with “essentials” like clean underwear and shampoo that you’re expected to schlep around for her. Chances are, we’ve got a cool tank bag that doubles as a stylish purse anyway.
2. Perhaps A Cheap Date
_______________________________________

Forget $20 martinis and $50 sea bass; Tehy’re good with a Frog Dog and a beer at the races. Of course, they dream-date is a long ride on a twisty road with lunch someplace where they bake their own bread and the hostess calls the guy making sandwiches “dad.” Bonus: They show up with their tanks already full.
3. They Get You
_______________________________________
Feeling like a rock-star for taking your scarlet-faired torque-monster of an Italian race bike down the “scenic route” on your GPS that turned out to be sixteen miles of winding, mostly-dry, dirt logging trails and moss-slimed riverbeds? They get that. You are a rock-star. Pull off a stunt like that and they’ll probably throw themselves at you.
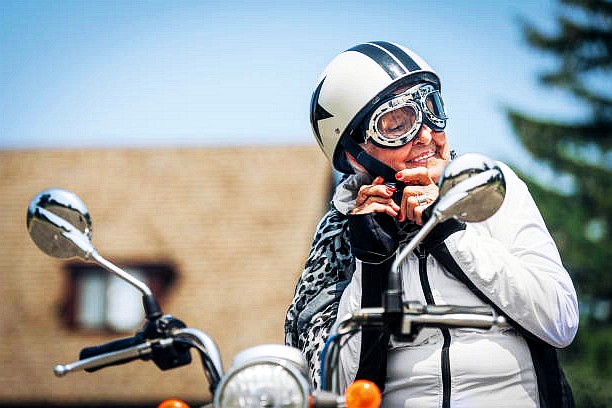
4. They’re Tough
_______________________________________
Another scientific fact: if you drive a motorcycle, at some point, you are going to fall and explode. “I was there, I did that,” and they’re not going to boo when (not if) it happens again. It takes a lot to make motorcyclists cry… As in “sorry ma’am, that repair bill is going to cost you a lot.”
5. Crazy Ex-Girlfriends Are Afraid Of Them
_______________________________________

Doesn’t matter what theyre ride (not like she’d know the difference, anyway), your nut-job ex sees you holding hands with some girl who’s holding a helmet in the other, and suddenly, camping out on your porch with a batch of your favorite cookies on what would have been the two-year anniversary of your first date doesn’t seem like such a good idea. You could be escorting the new gal to her pearl-pink Vespa, but all’s that psycho sees is “BIKER-CHICK”.
In the twisted hierarchy of feminine badasses, they’re sort of up there. Right under female Navy Seals and Heidi Klum.
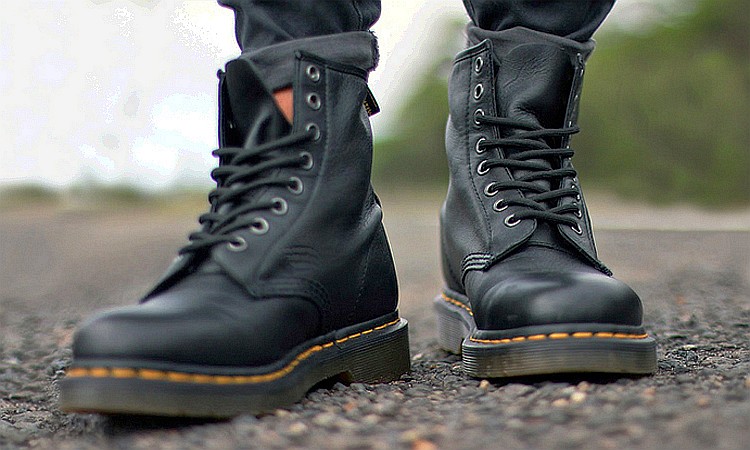
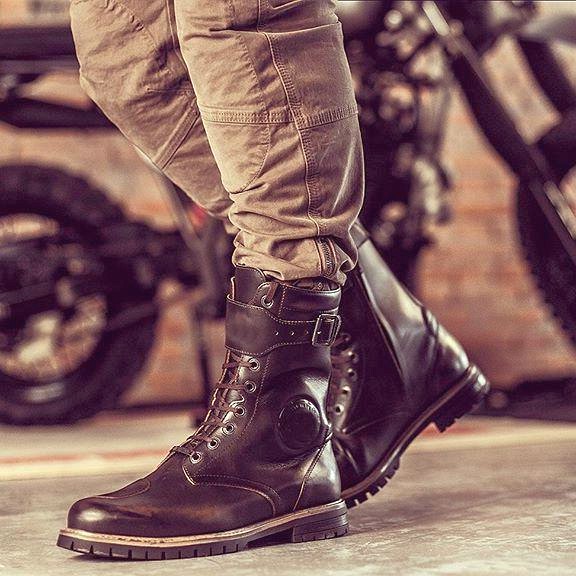
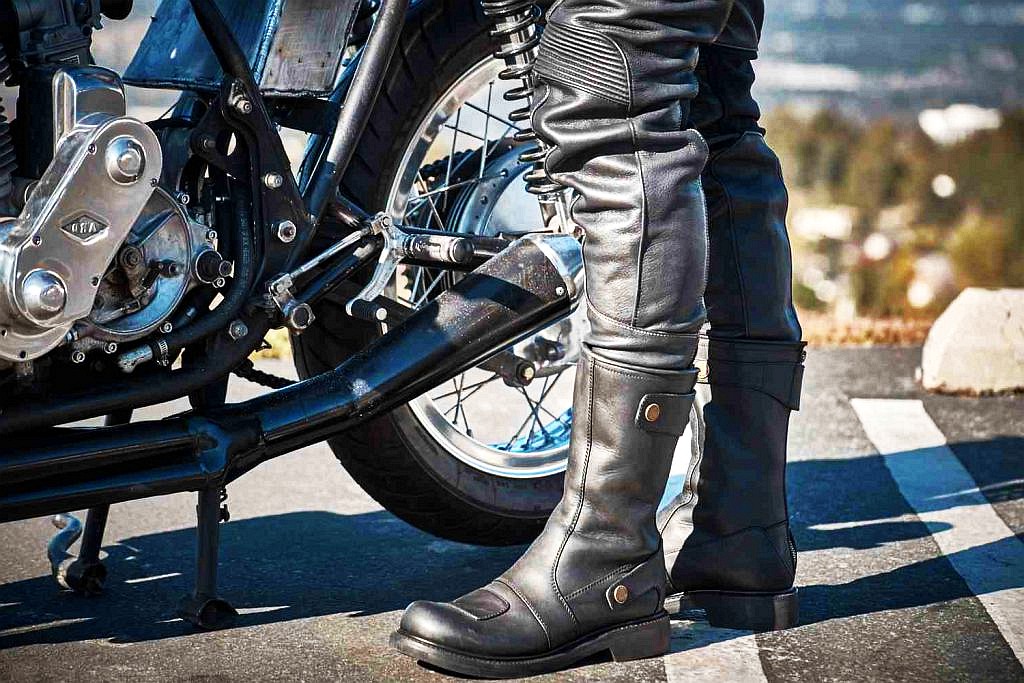
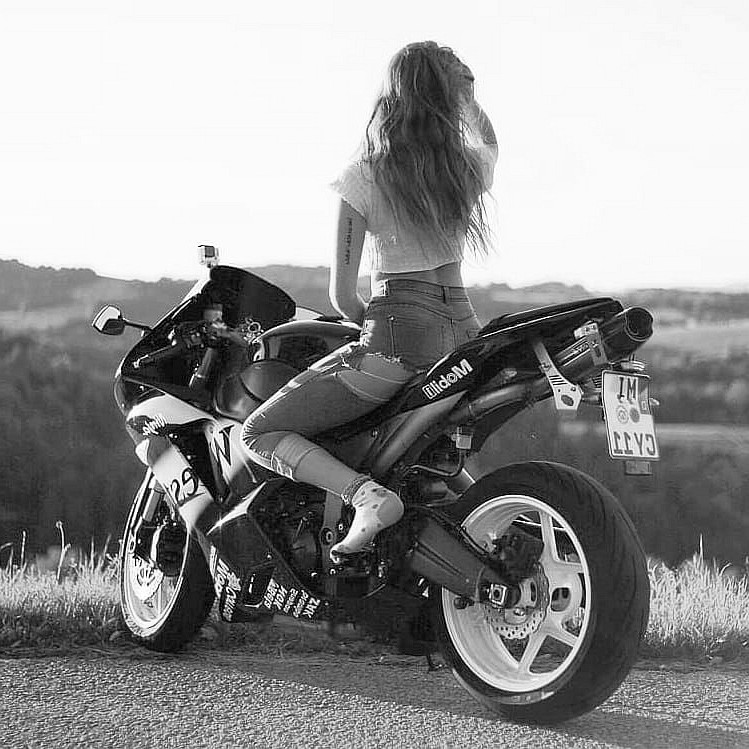
6. They’re Into Leather
_______________________________________

Need We say more?
7. They’ll Support You In Ways Your’re Not Accustomed To
_______________________________________

As any man in a steady, co-habitative relationship with a woman knows, in order to maintain emotional homeostasis, all big purchases (doesn’t matter what for), must be approved by the female. It’s true. In 80 percent of U.S. households, it’s the woman who wears the fiscal pants, so it’s really in your own best interest that the woman in your house digs motorcycles, too.
Not only will they approve your purchase of that vintage scrambler or the latest bike-of-the-year, they just might surprise you with it on your birthday.
Plus, they’ll keep you in gear, too. When some poor guy stops to ogle your bike and utters that familiar, most emasculating phrase ever voiced by the human male, “I’ve always wanted a motorcycle, but my wife won’t let me have one”, go ahead, twist that knife. Tell him your girlfriend/wife bought it for you.
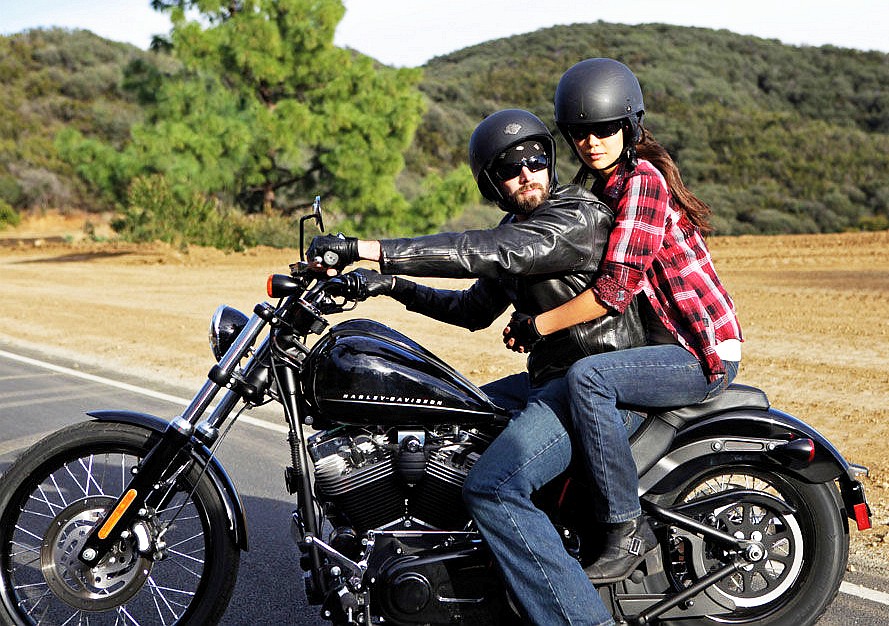
8. They’ll Get Off (And Stay Off) Your Back
_______________________________________
Admit it: riding is a lot more fun without a 130 lbs backpack. Why, with our vast knowledge of spinal anatomy and physiology, we estimate riding solo could extend the total life-time and ride-years of the average 30 year-old rider by a good 17.4 years*, simply by removing the added physical burden of a passenger.
See where we’re going with this? Dating a woman who rides her own bike is actually healthy for you.
(*= a completely arbitrary statistic for which we claim full artistic license and hereby disavow any claim, real or otherwise, regarding actual health benefits).
9. Your Mom Will Love Them
_______________________________________
She may not admit it at first, but secretly, every mother hopes her son will date a strong woman. This is your ace in the hole when she tells your mom she works part-time as a dancer at a “gentleman’s club” while studying to be a tattoo artist. Mom will overlook all that: she rides a motorcycle, ergo, she’s strong. The line of thinking here is “good; let her take over,” And if a motorcycle-riding, pole-dancing, tattoo artist of a girlfriend can’t make a man out of you, get help. (PS – Most of they are not pole-dancing, tattoo artists BTW.)
10. Every Guy You Know (And Many You Don’t) Will Be Jealous
_______________________________________
You tell a guy about a girl you know who rides a motorcycle, and their imagination kicks in to sixth gear. Let it. (See motorcycle-riding, pole-dancing, tattoo artist GF, above.)
Finally, turning it up to eleven: We dig satire. Most of us, anyway.
Did We convince you?
_______________________________________
Moust of all, Remember that Always You Can:
Choose Your Destiny!

Original Article: https://bit.ly/3iJKl7G